Monday, October 21, 2024

Happy Birthday, Grace!

 Hi all -

It's hard to believe it, but today is Grace's 2nd birthday. Where does the time go! Can I still call her a puppy? I know I can say that she has turned into a very sweet and well behaved dog!

Grace

It's been a very productive week for me. I've had a couple of finishes this week. First, I finished the two smaller Ditty Bags from the ByAnnie pattern to go with the larger one that I made earlier:

Ditty Bags from ByAnnie

I had fun using the same fabrics for all of the bags, but using different quilting and embellishments! The middle-sized. bag has meandering feathers quilting and some cute buttons on it:

Ditty Bag - Medium Size

The small bag has stipple quilting and a cute ribbon embellishment:

Ditty Bag - Small Size

And I remembered to include the lining fabric in the quilted sandwich so the inside is lined!

Ditty Bag - Lining

These bags were fun to make (although the binding in the inside of the smallest bag was pretty fiddly!) and I was able to use them for practicing my rusty quilting and for picking quilting designs for other projects.

My second finish is my Comfort Fade Cardi designed by Andrea Mowry (the colors are brighter than they appear in the photos):

Comfort Fade Cardi - Front

Comfort Fade Cardi - Back

I had started this several years ago, but put it aside before picking up the stitches for the button band/collar. Picking up stitches, especially when there are lots of stitches as in this case, has always been confusing for me. Patterns always seem to give you the number of stitches to pick up, but there are also prescribed ratios of stitches to pick up when picking up along the sides of the knitting (knitting stitches are taller than they are wide so it's not 1 to 1). The problem with this is that you knit a sweater to the length that works for you so you rarely have the same number of rows as the designer had so the number of stitches given in the pattern is different that what you would get using the prescribed ratio. After watching blogs and stuff, I think I understand how this works now. The pattern gives you the number of stitches the designer used, but you should instead pick up stitches using the prescribed ratio (many say to pick up two stitches for every three rows, for example). Then, for a pattern like this one, you have to do some math because this pattern uses what are called "short rows" to build up the collar. To do the short rows, you are told to knit a given number of stitches, then you turn your work and knit in the other direction. And you do that several times to build up the collar. But if you pick up a different number of stitches than the designer, then you have to knit a different number of stitches to start with and you have to figure that out for yourself. But once you understand how it works, it's not difficult. And now I have another fun sweater to wear as the weather cools down!

Another project I did a little work on this was was my "Baby Elephant" quilt from Lickety-Split Quilts for Little Ones by Laura Bevin. One of the things I've been wrestling with was what background quilting to use in the cornerstones (and, to be consistent, behind the elephant). I used the ditty bags above to help me make that decision. I felt like meandering feathers would be a good background because they would represent food for the elephant, but I was afraid that that design would be too thready and would make the quilt a bit stiff. So I used that quilting for my medium ditty bag and I agree with my instinct. Even though the bag doesn't feel stiff, it does feel to thready for my baby quilt. So I decided to use simple stippling and used the small ditty bag to practice my stitching. Here's how the cornerstones turned out:

Baby Elephant - Cornerstone

I generally second-guess myself with stippling because it is so common from past days that it almost seems cliche or something, but I think it ended up working well here and will work well behind the elephant, too. And, as an added benefit, it's very fast at this scale. It only took me about 10 minutes to finish all four cornerstones! Here's what the quilt looks like so far:

Baby Elephant

This afternoon I'll start working on the binding, then I'll finish the rest of the quilting. I still have to figure out how to quilt the elephant itself. My first inclination is to try to do some "realistic" quilting on the elephant where I put some horizontalish lines on the trunk, whorls on the knees and some rounding around the belly, but I would have to figure out something to quilt on the elephant's side so there is enough quilting to hold the quilt together. But I'm afraid any realistic type quilting in this area will just make the elephant look wrinkled and old. So I might just use some general quiltinng pattern that isn't elephant-specific. I have time to think about this as I work on the binding and background quilting.....

Finally, I also went to my first meeting for another small group from my quilt guild on Monday. This group is for working on block of the month quilts or mystery quilts. I have several of those that I've started in the past and would like to finish some day! So I pulled out my Ruffled Roses quilt designed by Sue Garmen. This was the 2011 Block of the Month quilt from The Quilt Show and I started it that year. This is a very detailed, time-consuming quilt, but it is so gorgeous! I just had the first couple of months finished so far:

Ruffled Roses - Front

This quilt is fancy enough that it even includes trapunto:

Ruffled Roses - Back

If I went in order, I would continue working on the applique swag border. But this is hand applique and I'm using different thread for every piece and then I'll have to add trapunto to this border, so I decided I didn't want to continue working on this border at home and move on to the next border in the group meeting. The next border is small four-patch blocks (2.25" finished) on point, which is easier to do away from home than the applique. So I started working on this border:

Ruffled Roses - Strip Sets

It doesn't look like I accomplished much, but there is a lot of pressing and cutting that has to be done before you can do any sewing and we only meet for four hours. That's the difficulty with scrap quilts. But I love the variety that results! It was really nice to see this quilt again, but I won't be working on it outside of the monthly group meeting until I get the elephant quilt and another quilt done that have to be finished for Christmas. After that, I hope to put more time into this one! (Although you never know what might turn my head next...)

Well, that's it for now. I hope everyone is doing well!!

Nancy


Sunday, October 13, 2024

Cowltopus Mystery KAL Clues 1 & 2

 Hi all -

I hope everyone is doing well! It's hard to believe that we are in mid-October. We are still having warm, dry days. We haven't had any precipitation since our first "snow" a couple of weeks ago. We are so lucky that we haven't had a fire yet! And my well has been stressed for the last couple of weeks so I have to be really careful with my water usage. But it sure does feel good!

Last week was my busy one. I've been joining more of the small groups with my quilt guilds and they all seem to meet around the same time. Last week I had the Longmont guild meeting on Tuesday, then the class from the Longmont speaker on Wednesday. I'll show what I did in class below. Thursday was the Quilts of Valor (QOV) small group, where we spend a day at the church sewing quilts for the QOV organization. Friday was the English Paper Piecing small group where we work on our own EPP projects. In this group, I just continued to work on my hexagon charm quilt. All of these were a lot of fun and Grace got to play with the other dogs at daycare so we were both tired at the end of the day.

Besides the quilt activities, I've spend most of my time since my last post working on Laura Nelkin's Cowltopus Mystery Knit-Along (MKAL) project. Laura likes to celebrate Cowltober with a new cowl pattern and has had a MKAL the last couple of years. This year's pattern is octopus-themed. Even though I have more than enough yarn in my stash, I bought this year's kit because I wanted the extras:

Cowltopus Kit Extras

I hope you can see in the picture that we got two stitch markers (a Sculpey octopus and a metal tentacle) and cute octopus end stoppers. The kit also came with a couple of cute stickers, but I really don't have anywhere to put stickers so I'll probably end up throwing them away. Laura loves to plan here MKALs with weird constructions so we really can't tell what the final project will look like. This year's is no disappointment! The first clue, which came out on October 4, had us use Judy's Magic Cast-on to create a two-sided piece, then we knit back and forth around it in a U-shape to make this:

Cowltopus Clue 1

I don't know if you can tell in the phots, but the bottom edge is a finished edge and the live stitches are in the U around the sides and top. From this angle it looks like we are knitting a jellyfish! The shaping looks like the top of a hood.

Cowltopus Clue 1

It's really had to show this shape in a picture! We got the second clue last Thursday and it continued the hood element:

Cowltopus Clue 2

In this photo, the live stitches are on the bottom and the finished edge is on the right side. Here it is standing up:

Cowltopus Clue 2

It's possible that this is really a snood, but I have a feeling that we are going to fold this in some strange manner and end up with cool-shaped cowl. We only have two clues left so we'll know soon!

As I mentioned above, I also attended the class offered by our quilt guild speaker. This class was on piecing circles using the Cut A Round ruler. If I was in the class to actually learn something, I would have been very disappointed because we basically just had a demonstration of the ruler and then spent the rest of the day (it was a full day class) piecing circles for a table runner. But I was really in the class to be more social so I was okay with that. We started out piecing a practice circle:

Circles Class Practice Circle

Then we worked on the table runner. The table runner was designed as three blocks with circles and then a border around it. But I don't use table runners and don't have any space for another wallhanging so I decided that I will end up making a lap or bed quilt instead and just concentrated on making blocks:

Pieced Circles Quilt Blocks

Since I love scrappy and Kaffe Fassett fabrics, I'll just keep making these blocks until I reach a size where I want to stop, then I'll sew them together and quilt it. I might do some hand embroidery in the solid fabric. I'll decide that later. This project will be set aside for a while since I have other things I need to work on right now, but should be quick to finish when I get back to it since the blocks are 14" square. And I'll probably piece the practice square into the quilt back to keep everything together.

Nancy


Wednesday, October 2, 2024

A Bunch of Bags

 Hi all -

Wow! Time is flying by! I can't believe it's October already! Looking at the trees, it's obviously October. But you would never know it by the weather. It's been sunny, warm and dry since that little snow storm I mentioned last time. I'm loving it! It's going to be a real shock when the weather turns!

Since my last post, I've taken a break from quilting and have been making bags instead. I started with the "Hands Free Diaper Bag" by Missouri Star:

Hands Free Diaper Bag

This is a small diaper bag designed to be warn cross body.. It has a large main pocket for diapers and supplies and a pocket on the front for the baby wipes that has a flap giving you direct, easy access to the opening in the package:

Hands Free Diaper Bag Opening for Wipes

As you probably guessed, this is for my nephew's baby girl who is due in November. I think it will be useful for those short trips where you don't want to carry a big diaper bag but still need to be prepared for emergencies. Of course I decided to use a directional fabric for the bag so I had to pay close attention to what I was doing to get the print right-side up. And I made a lot of mistakes along the way and had to redo several parts. But I love how it turned out! 

I love to make bags and hadn't made any for a while, so this bag really whet my appetite! I really wanted to make a ByAnnie bag so I looked through my patterns and picked something, but then realized that I didn't have enough Soft & Stable (the stabilizer ByAnnie bags are designed to use) to make the bag. But I was going to Quilt A-Fair last Friday so I decided to look for some there. Quilt A-Fair is the Colorado Quilt Council's annual show. It's kind of a weird show because there are a bunch of vendors on the floor and the quilts are displayed in the rafters. It's really hard to see the quilts and there aren't a lot of them, so I actually didn't even realize it was a quilt show for the first couple of years that I went. I thought it was just a vendor's market. But now I know to look up for the quilts so I can enjoy them as well as the vendors! Anyway, I was able to get some Soft & Stable and I also found a kit to make a couple of ByAnnie bags that I liked and the sale benefitted the Rocky Mountain Quilt Museum. So I switched directions and made the bags from the kit:

Renaissance Ribbons Bags

It is a wonderful kit with fun Tula Pink fabrics and ribbons. The pattern is "Renaissance Ribbons Bags" by ByAnnie. I made the big bag first to get a feel for the pattern:

Renaissance Ribbons Bags - Larger Bag

The larger bag is generally the better one to test the instructions with because it's usually less fiddly than the smaller bags. For this one, I originally put the zipper on upside-down and had to take it off and redo it. In this case, it would have been better to have made that mistake on the smaller bag instead since it was tightly stitched and took some effort to remove! But I got the big bag nicely finished and then was able to make the smaller bag with no problems:

Renaissance Ribbons Bags - Smaller Bag

I think these turned out cute and I love the lining fabric as well:

Renaissance Ribbons Bags - Lining Fabric

These are really easy to make and I can see making some more in the future.

Then I went back to the ByAnnie pattern I had picked out before the quilt show. I had picked out all of the fabrics before the show so now I just had to put it all together. I had chosen the "Ditty Bags" pattern (the link is for the 2.0 version of the pattern which looks a little different from the original version that I have) and again started with the largest bag:

Ditty Bag - Largest Version

It's hard to tell, but my main fabric (which is one of my favorite all-time fabrics) is, of course, directional so I had to play with the instructions to get everything in thge right direction. The pattern has you cut a large piece of the main fabric, quilt it and then cut out the needed pieces. And the pattern uses a single large piece for the main body of the bag, which wraps around from one side to the other which would make the pattern upside-down on the back side. Instead, I cut out my main fabric pieces first, cutting the main piece in half (and adding seam allowance) and then piecing it back together to get everything in the right direction. Then I arranged the main piece and the side pieces on the Soft & Stable and quilted everything as directed. Well, almost as directed. I didn't read the directions carefully and the other bags I had just made had the lining sewn separate from the outside of the bag so you quilted the outside fabric without the lining for those. Of course, this bag is made by quilting all three layers (lining, stabilizer and main fabric) into a single piece and then the seams inside the bag are covered with binding. I didn't do that and didn't realize I had done that wrong until I was too far along to fix it, so this bag has the Soft & Stable as the lining. Luckily, that will work just fine and just not be as nice has also having a lining fabric:

Ditty Bag - Lining

I do plan on making matching bags in the smaller sizes, but I'll do those correctly so they will have the lining fabric on the inside! I'm really enjoying the bag making so you'll probably see more scattered in with my other crafts in the future!

I really need to get back to the Baby Elephant quilt. I need to finish it by Christmas. Then I have to get back to a log cabin quilt that I started a couple of years ago that I've decided to finish for my brother-in-law for Christmas this year. Our family is doing Secret Santa this year and I chose his name so that's the only Christmas gift I have to make this year. Then I'll be free to flit between all of my projects and crafts again.....

Nancy


Monday, September 23, 2024

Border Quilting on Baby Elephant

 Hi all -

Fall is definitely here. We had our first snow Sunday morning. It rained all night then turned to snow in the morning. It stuck on the roof, but melted on the grass. And then it was all gone by noon. Now we're back to some pretty beautiful warm weather for the next week. What a wonderful time of year!  Here are some pictures of the aspen trees turning in my yard:

Aspen Turning in My Yard

More Aspen in My Yard

Isn't it beautiful??? I wish I could get the glow in my pictures! It's so much more beautiful in person!!

I've been spending time quilting the border of my "Baby Elephant" quilt from Lickety-Split Quilts for Little Ones by Laura Bevan. I'd already done the stitch-in-the-ditch quilting so now everything is stabilized and I can quilt wherever I want. I started with the big blue border blocks. I decided to quilt a chevron in those areas:

Chevron Border Quilting

The chevron is nice because it brings the eye into the center of the quilt. It''s nice to quilt because I can use my walking foot, but it's tedious because I had to bury the thread at the end of each line. I could have secured the stitches by stitching backwards at the end of each line. That would have been quicker, but I don't like the look of the heavy double thread at the end of each line. Another option would have been to stitch in from the outside edge, then stitch along the edge of the narrow purple border and then stitch the next line out to the edge of the quilt. This is what I would have done if the quilting along the sides of the narrow inner border was done in the blue thread used for the chevron. But I quilted the sides of the narrow purple border using purple thread so those extra little segments would have shown up on the back of the quilt. I'm weird, but I really want the quilting on the back of the quilt to look cool. Here's what the chevrons look like on the back:

Chevron Border Quilting on Back

I just find that so cool looking! For the orange corner stones, I found a rose quilting stencil in my stash that fit in the corners perfectly. I was looking for a rose to quilt in the cornerstones because I just found out that the baby's name is Adeline Rose. Isn't that beautiful? I quilted the roses in purple thread to make them stand out in the corners:

Rose Quilting in Cornerstones

I flipped and rotated the rose stencil so that in each corner the rose has the same two leaves pointing toward the borders and the third leave pointing towards the corner so the rose motifs kind of make a rectangle around the quilt. I hope that makes sense! Here are pictures of the entire quilt so far:

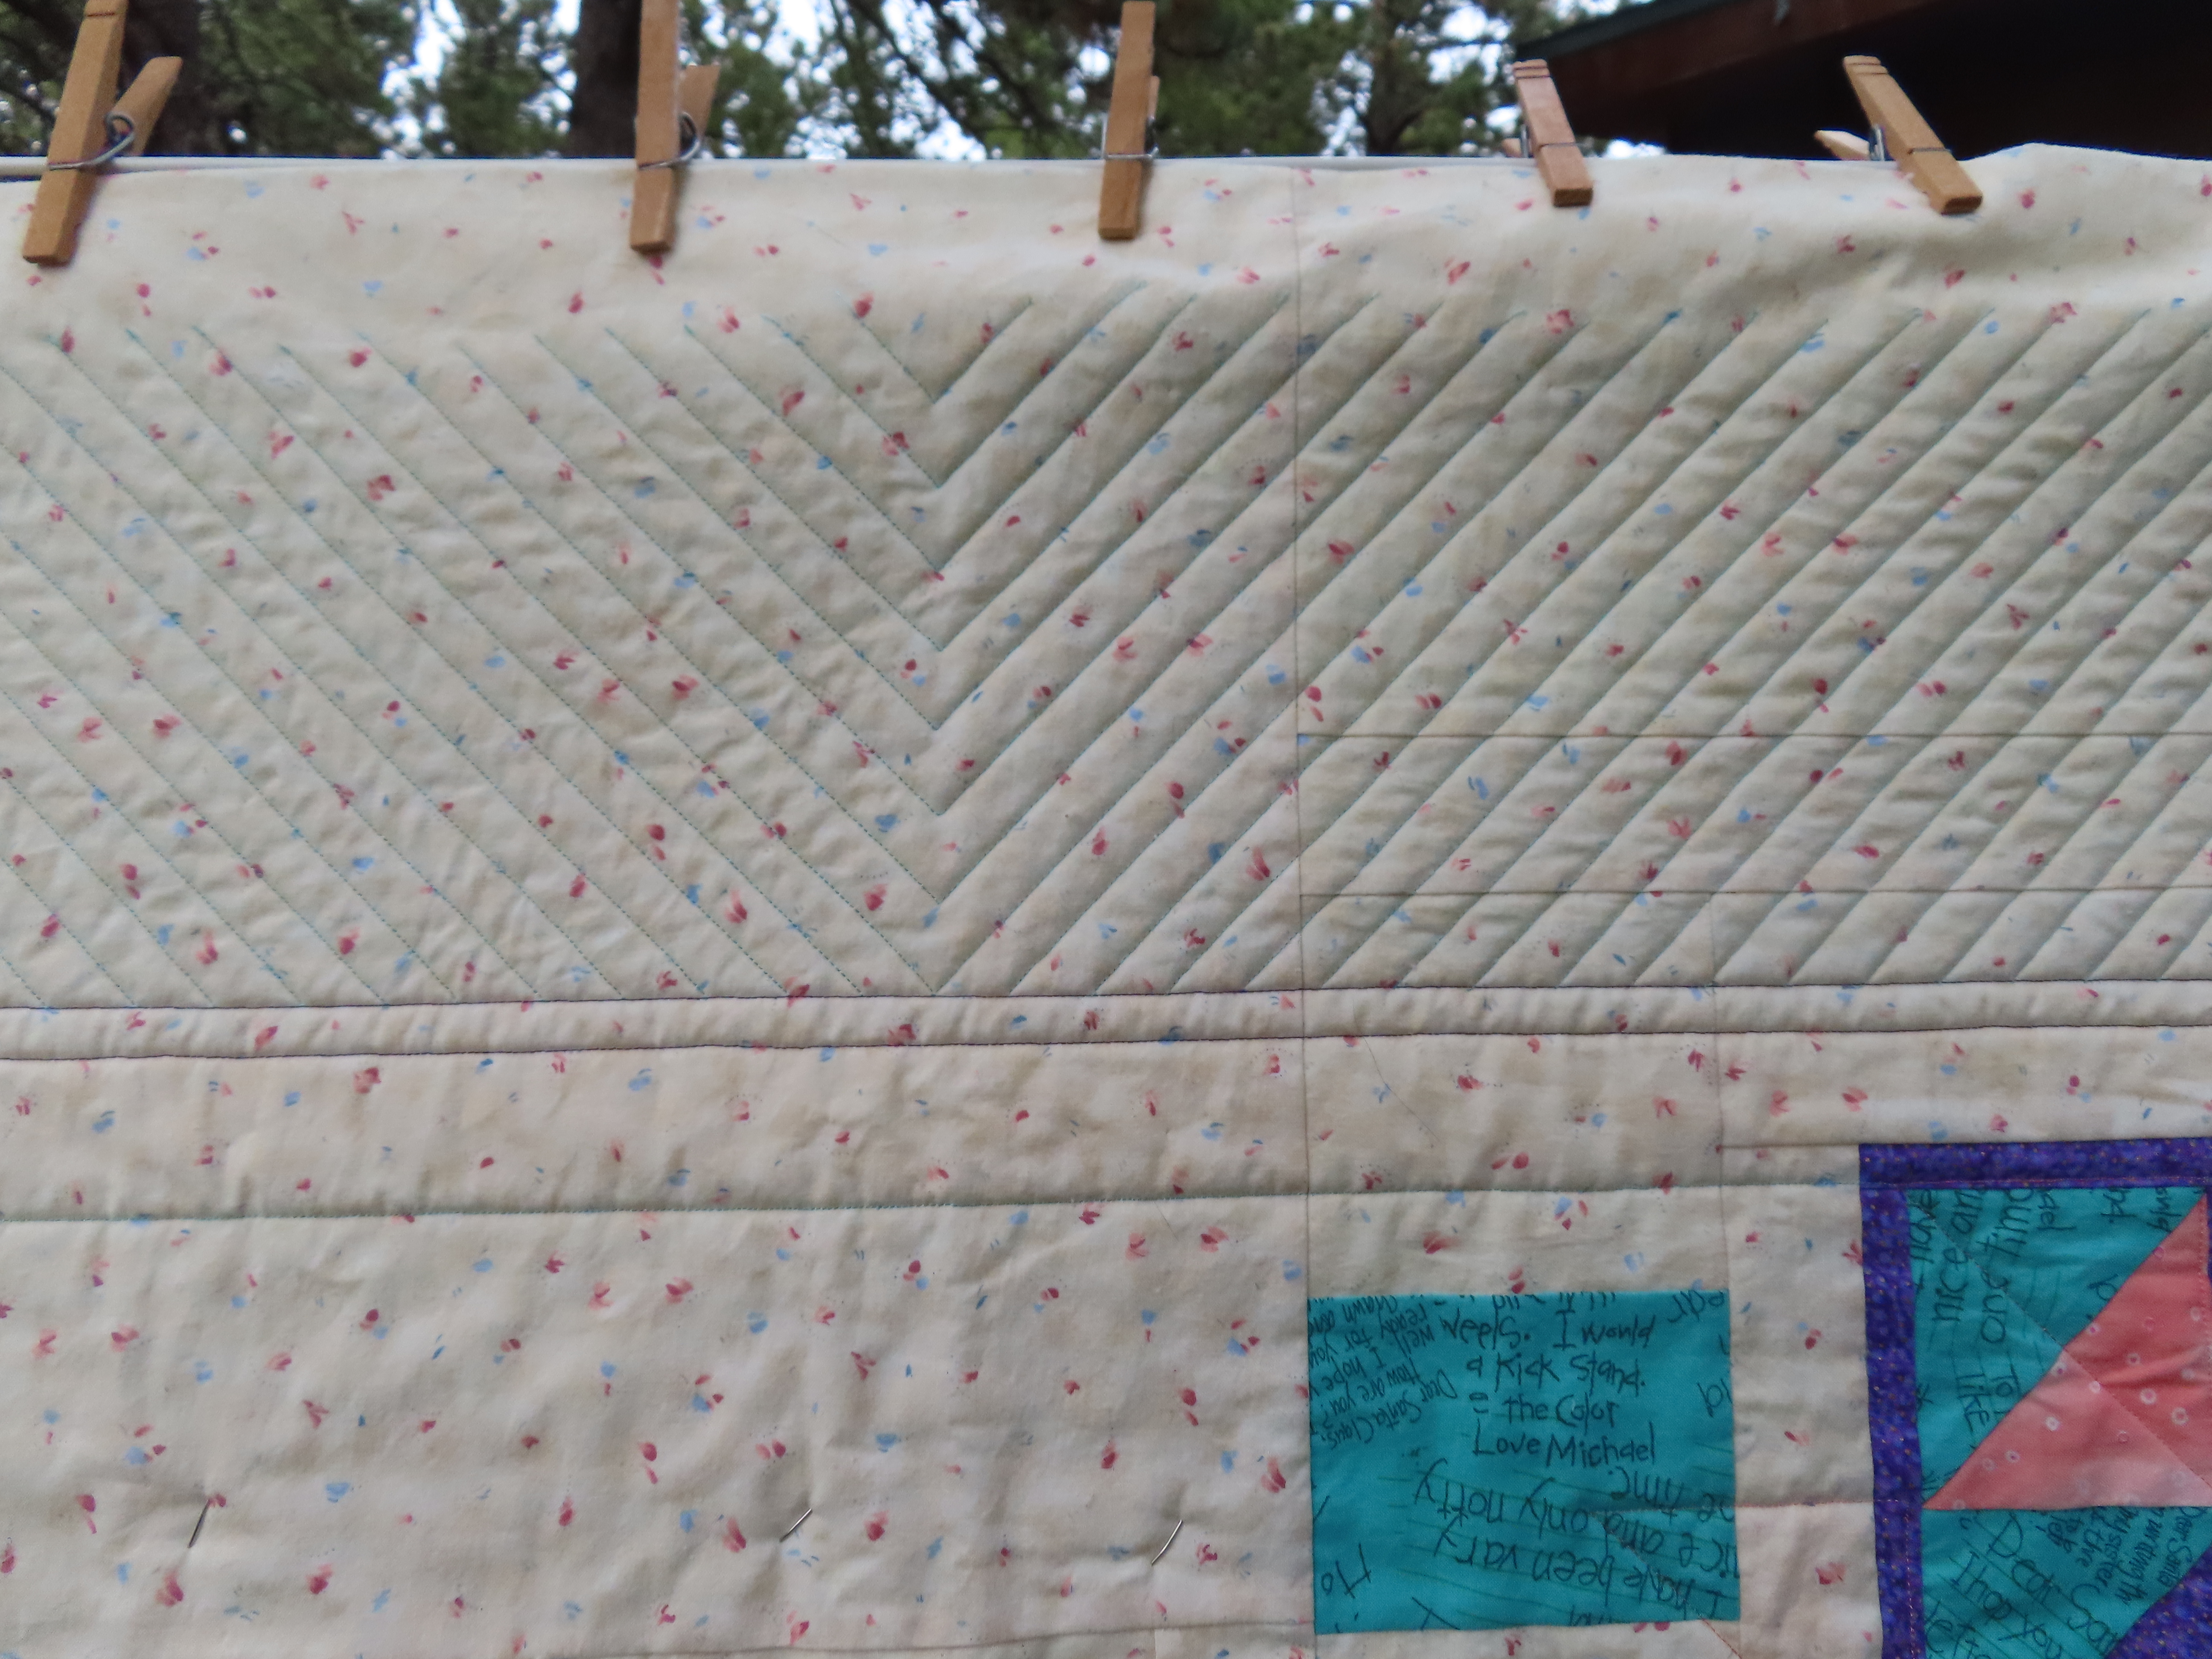
Baby Elephant With Borders Quilted

Baby Elephant Back

Now I need to pick a background filler for the cornerstones. I need something that will flatten the puffy areas around the roses, but isn't too heavy so it doesn't make a stiff place in the quilt. I want something curvy to contrast with the chevron quilting. Pebbles are one of my go-to curvy background fillers, but I tend to do a lot of backtracking when I do pebbling which can make it heavy. Another thought is to do a meandering feather filler. That has less backtracking and looks beautiful so it's a possibility. Another possibility would be to do some Nemeshing, which is a combination of feathers and pebbles. I did this on a wallhanging a long time ago and it looks wonderful, but I'm not sure if there's enough space around the roses to do it justice. I plan to use whatever filler I use around the roses also in the cream background area around the elephant to add cohesiveness to the quilting. The Nemeshing could really shine in that area, if I can pull it off with my current rusty quilting muscles. I'll ponder this some more and come to a final decision soon. Once I get the background quilting finished around the roses, I'll be able to put the binding on the quilt. I like to get the binding on as early as possible so I don't have to deal with the fluff that comes off of the batting while I quilt.

In the time when I'm not quilting, I've continued to work on my English Paper Piecing (EPP) hexagon charm quilt. I'm plugging away at adding hexagons to my hexagon-shaped units, making them rectangular. I've completed another three rectangles:

EPP Hexagon Charm Quilt Units

I'm having fun making progress on this quilt! But I'm also finding myself wanting to start a "La Passacaglia" quilt from Willyne Hammerstein's first Millefiori Quilts book. I've wanted to make one of these quilts since there was an exhibit of these quilts in Houston several years ago. I've been collecting Tula Pink fabrics for this quilt and I'm feeling the pull to start working on this one! So don't be surprised if you see me switch EPP gears soon....

Last week I took Grace to doggy daycare and they were having a ball pit day. This daycare offers "enhancements" where you can pay an extra $15 for some special personal time with your dog sometime in the day and they send you pictures of the activity. Every day the offer personal time where they will do puzzles with your dog or play ball with them, but every once in a while they will have a special enhancement. That's what ball pit day was. Since Grace LOVES balls, I couldn't pass this up! Here's Grace in the ball pit:

Grace in the Ball Pit

They filled the pool with balls and also treats for her to find. Grace loves to catch treats and they got this great picture of her just about the catch the treat:

Grace Catching a Treat

She really loved this activity!!

Well, that's about it for me. I hope everyone is doing well and enjoying the change of seasons!!

Nancy


Monday, September 9, 2024

A Little Bit of Love Finished and Posted

 Hi all -

I hope everyone is doing well! Fall is definitely in the air around here. I noticed this morning that the aspen lining the road into our neighborhood are starting to turn. The aspen on my property are still green, but they should follow suit soon! I've noticed that the trees along the road always turn first. A neighbor told me that this is because of the chemicals they put on the road. I'm not sure if that's true, especially since our neighborhood roads are dirt, but it's possible. I wonder if it might not be from the car exhaust. But, either way, they are starting to turn and they're beautiful! I'll try to remember to get pictures of my tress when they start turning.

This week turned out much differently than I had planned. I was supposed to go to a guild sew day for making charity quilts on Thursday, then there was a retreat on Friday and Saturday. But, unfortunately, my dog ended up breaking her toenail on Tuesday so she was on restricted activity all week and couldn't go to daycare. A broken toenail sounds minor to us, but when. it happens to a dog it's a problem because their quick is exposed and it's very painful. So I spent the week in the house with a 1.5 year old dog who was a bundle of energy. I ended up letting her go outside on her own a day early! But she's completely fine now and is very happy to have her freedom again! But I was still able to get a lot done this week....

My big finish was the tiny quilt that I was making for my great-niece who is due in November. It's from the "Baby's Love Blanket" pattern in the Quick Quilts for Kids book by Elizabeth Keevill. I was able to sandwich it, quilt it and add the binding this week. Here is the finished quilt:

A Little Bit of Love front

A Little Bit of Love back

I did minimal quilting on this quilt because I want it to remain soft and comfy. I did stitch-in-the-ditch (SID) on all of the seams in invisible thread. Then I quilted around the applique hearts and added "ghost" hearts in the empty green squares using fuchsia thread. That should be enough to hold everything together and still be cute. I wanted to share a close-up of the pink and white fabric that looks a little out of place in the quilt, at least to my eye:

A Little Bit of Love close-up

Can you see what it is??? Candy necklaces! Don't you love it?? I just had to include it!! I decided not to put a label on this quilt because it's so small and hopefully will get so much use that it gets worn out. I was able to get to the store this morning to get a card and got the quilt packaged up and mailed to my sister. It should arrive before the shower, which is on Saturday 9/14.

I also made progress on the bigger baby quilt. This one is the "Little Elephant" pattern from Lickety-Split Quilts for Little Ones by Laura Bevan. I was able to piece together the backing:

Little Elephant backing

I just randomly sewed together a bunch of the scraps to use some of them up. I think it will look cute once the quilt is quilted and the back is trimmed so that there isn't so much empty space around the edges. And this morning I was able to get it sandwiched and pin basted. I decided to do the pinning out on the deck on a couple of little folding tables I have. They were almost big enough when I pushed the two tables together:

Little Elephant pin basted

Of course it started sprinkling while I was pinning the first section so I quickly finished that section and took my stuff inside. That caused the rain to stop, so I waited a little while and was then able to finish the pinning. I hope to start the quilting tomorrow. I plan to do SID around the parts of the elephant using matching thread so that I get a ghosted elephant image on the back. I'm not sure what I'll do for the rest of the quilting yet. I usually figure out the quilting as I go along.

I was also able to spend some time knitting my Festival of Stitches shawl designed by Lisa Hannes. I was able to finish the last section on each side and bind everything off:

Festival of Stitches

Festival of Stitches final sections

I still need to bury the ends, block the shawl and make a tassel. I'm not sure how I feel about this last section of the shawl. The previous section is lace, which is designed to be stretched during blocking to show the detail, but the final section is ribbing that is designed to shrink up. But no matter how it turns out, it will still keep me wam in the winter!

Finally, I made more progress on my English Paper Piecing (EPP) hexagon charm quilt. When I started this quilt years ago, I was piecing the hexagons together into larger hexagon-shaped units. The hexagon-shaped units do all fit together, but I realized that it's confusing to put them together and my final qiult will be rectangular so my units should probably be rectangular, too, to make things easier down the line. So, I've started adding hexagons to my hexagon-shaped units to make the new rectangular units. Here are the two units side-by-side:

EPP Hexagon Charm Quilt unit transition

This change almost doubles the size of the units. I finished the first two units:

EPP Hexagon Charm Quilt rectangular units

You can see how much easier it is to fit these units together into a rectangle! I had 26 of the hexagon-shaped units finished, so I "just" have 24 units to go..... This is going to take a lot of hexagons, so I basted a bunch more to draw from:

EPP Hexagon Charm Quilt - new basted hexagons

I'll just keep plugging away at this long-term project....

That's it for this week. It feels good to be making progress on some of these projects!

Nancy


Monday, September 2, 2024

Happy Labor Day!

 Hi all -

I hope everyone is having a great Labor Day! I can't believe how quickly time keeps flying by! We ate starting to feel fall in the air. It's so pleasant!

I've continued to work on quilts for my great niece who is due in November. I pieced the backing for the tiny quilt that's designed for using in the car seat and carrier:

Baby's Love Blanket backing

I think this is so cute with the front that I shared last time. This could be a two-sided quilt except that the quilting that I'm planning for the front will not match up with the back. But thatt's okay, it's still fun! I got the quilt all sandwiched and ready for quilting. I did my best to center the front on the back and keep all of the lines parallel. We'll see how I did when the quilting's done!

I also finished piecing a bigger quilt for the baby. This one is Baby Elephant from the book "Lickety-Split Quilts for Little Ones" by Laurie Bevan:

Baby Elephant

This quilt ended up 44" by 52". I chose the motif and the colors because my sister (the soon-to-be grandmother) made a stuffed elephant for the baby in turquoise and orange. My colors aren't a perfect match since I was pulling from stash, but I think it turned out pretty nice! I still need to piece a backing for this quilt.

On the side, I continue to work on my hexagon charm quilt. I like to watch TV so my handwork projects get a lot of attention! I added a bunch of new hexagons to my pile:

Hexagon Pieces

I'm trying to only add new fabrics to the mix, but there's a good possibility that I'll miss one or two doubles with this many hexagons! And I still have a lot of untapped stash.... I also started adding hexagons to my existing units to make them squares instead of rectangles. I have a lot of hexagons to add to each unit so I've only gotten started on the first one:

Units Changing Shape

The new units will be 6x6 so that they can all be the same shape and fit easily together. It's slow work, but they sure do look cool!

Finally, I've continued to work on my Festival of Stitches shawl designed by Lisa Hannes. I added the "raindrops" section to one side:

Festival of Stitches - white raindrops section

And I added the raindrops section and started the border on the other side:

Festival of Stitches - black raindrops section and border

It feels so good to be getting so close to the end! Unfortunately the border is twisted rib which takes a long time to knit. Luckily it's a really pretty stitch!

That's it for now. I hope everyone is doing well and enjoying a relaxing day off!

Nancy