Hi all -
Sorry for the delay in this post, but I had to go out of town unexpectedly and so lost a couple of weeks of creative time. But I'm back and I believe I made up for lost time!
First, I'll just get the little things out of the way. On the embroidery front, I did more work on my Sue Spargo
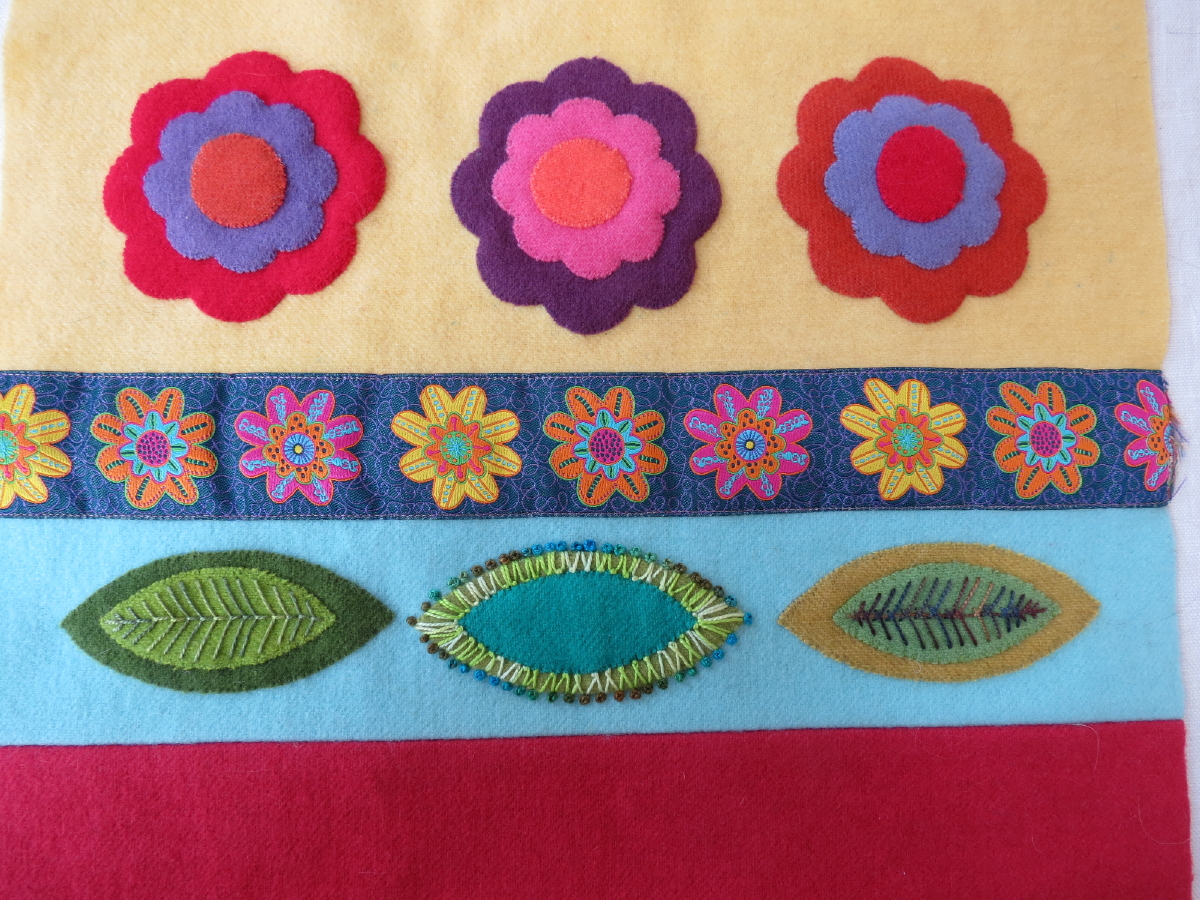
Birds on Parade bag. Previously, I had had the outside of the bag finished according to the pattern, but I didn't like how blank the back of the bag was going to be. Wool felt is expensive and I really didn't want to waste that space! So I ordered some more wool felt to use for appliques and, right before going out of town, I pulled out my Accuquilt cutter and some flower and leaf dies and I cut out some appliques for the back. I didn't put a lot of thought into the color of each piece since there was so much going on that day, but I was happy to have pulled something together that I could work on if I had some time when I was out of town. I got some of the appliques sewn on while I was out of town, then was able to applique the rest when I got back:
I think these will go well with the other side of the bag:
And I'll be able to nudge the colors a bit with the threads used for the embroidery. I was also able to start on the embroidery:
I'm really enjoying this and will definitely make more progress before my next post!
I've also done some knitting. I received my April installment of the Jimmy Beans Wool Shawl Club project:
There were "only" 10 rows to be knit in this installment, so I decided to knock those out immediately:
Of course, we're now up to over 350 stitches in each row so it did take several hours to complete.....
Since it's been a while since my last post, I also received my first installment of the Jimmy Beans Wool Knit Club project for April through June. This quarter's project is the Lakeside Summer Shawl by Jenny V. Nelson (this pattern isn't available on Ravelry yet so I can't supply a link):
I'm trying to keep up with these clubs so I decided to work on that immediately, too:
I think this is going to be a really pretty, lightweight shawl. I love how the elongated stitches look!
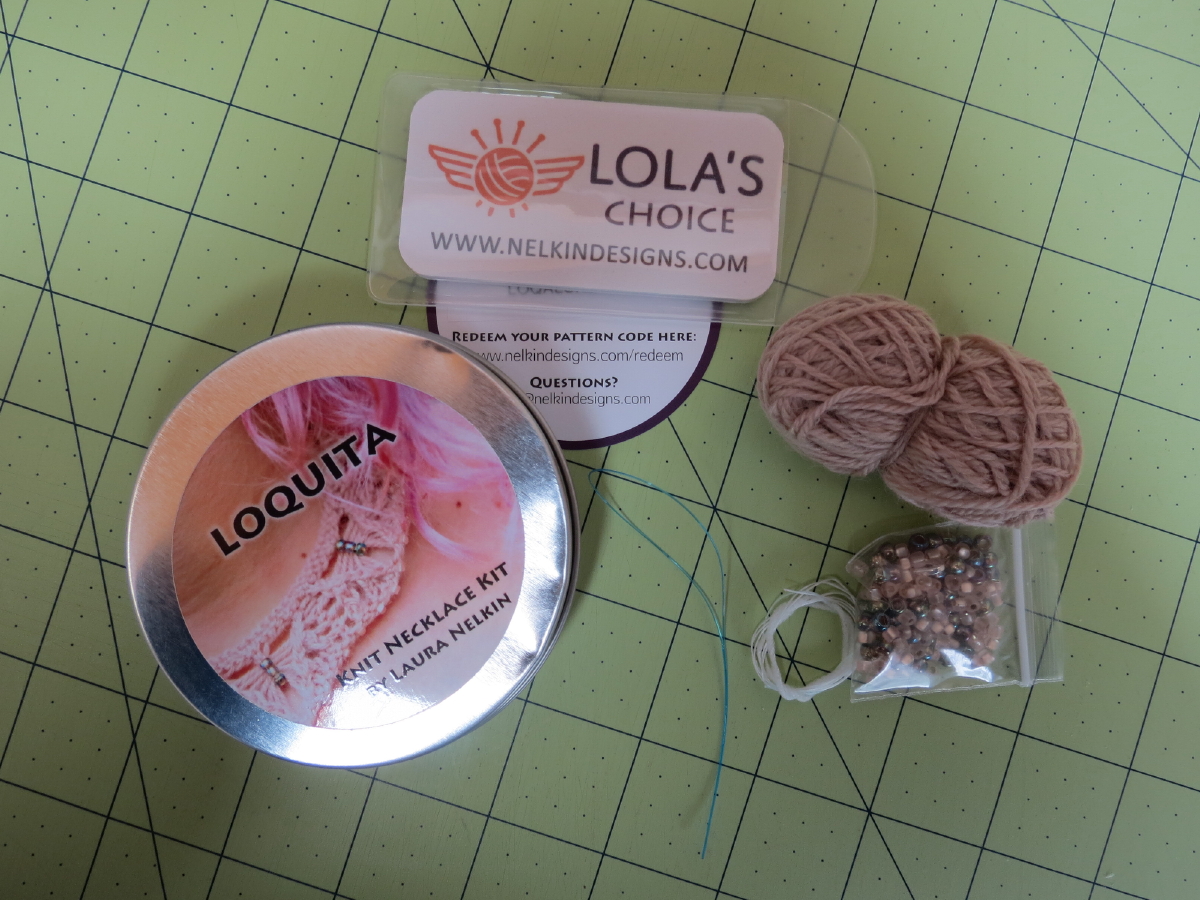
Even though I finished the knitting on my Ironish scarf by Laura Nelkin, I finally got the scarf blocked and trimmed the ends and got some finished pictures:
(I always have to slip in a picture of Lance where I can!)
The last knitting project I started is the
Sutton Mock Cable Hoodie by Iris Schreier. This will be a Christmas gift for my sister. She requested this last year and I went through the patterns on Ravelry with her and had her pick one out. Then I ordered some yarn after I got back home. Here's the start of the snood:

I really love the look and feel of this yarn, but after I got to this point, I looked at the pattern and realized that I was supposed to be holding the yarn double for this project. This is a single ply yarn and the pattern has a bunch of k3tog stitches. These stitches were a bit tricky with a single strand of this yarn; I don't think I want to try it with a double strand so I will probably pull this out and pick a different, plied yarn for this project. I could try to finish up with this yarn and maybe it would be the right size, but I don't want to risk wasting that time. I was going to knit a gauge swatch, but it said to knit the swatch "in pattern" and I didn't know how to do that with a pattern that started with just 6 stitches and increased a couple of stitches every 2 rows. So this project is on hold for now.
Finally, I finished the piecing on my Inclusivity quilt that I'm making for my niece for her college graduation in December. In case you don't remember, this quilt is based on the
Hexactly pattern by Hunter's Design Studio:
Last time, I had cut out all of the pieces for the hexagon strips and had started doing the piecing. This time I continued with the piecing. To piece this, you add triangles to the edges of the hexagons to make diamonds, and then piece the diamonds together. The part that I was worried about was getting the points on the hexagons to line up nicely. For the first of these seams, I used the method where you baste the seam across where the points meet, then, when that is perfect, you sew the entire seam with your usual stitch length. This worked nicely but took a lot of time and added a little bulk to the seam with the extra stitching that I didn't like. So, I looked at that finished seam and determined that if I matched up the seam allowances from the hexagons, that gave me the perfect position for the points to match:

Can you see how the seam allowances match up in this picture (I always press my seams open unless there's a reason not to)? With the seam allowances matched up, I would pin on both sides of the match point to hold that in place. Then, I pinned both ends of the seam to make sure that the ends overlapped 1/4". Finally, I found that adding additional pins in the middle helped things ease together better:
Using this pinning and matching, I was able to sew together the hexagons pretty quickly while still getting pretty good points:
They're not perfect, but they're definitely good enough for me! Here you can see how the hexagons go together:
One thing I would do differently if I made this quilt again would be to use larger setting triangles. The patter has you use the exact size of triangles that you need, but if you don't get them in there perfectly then the strip can be a little narrow in some places. I would rather cut them oversized and then trim the hexagon strips to the right size when finished.
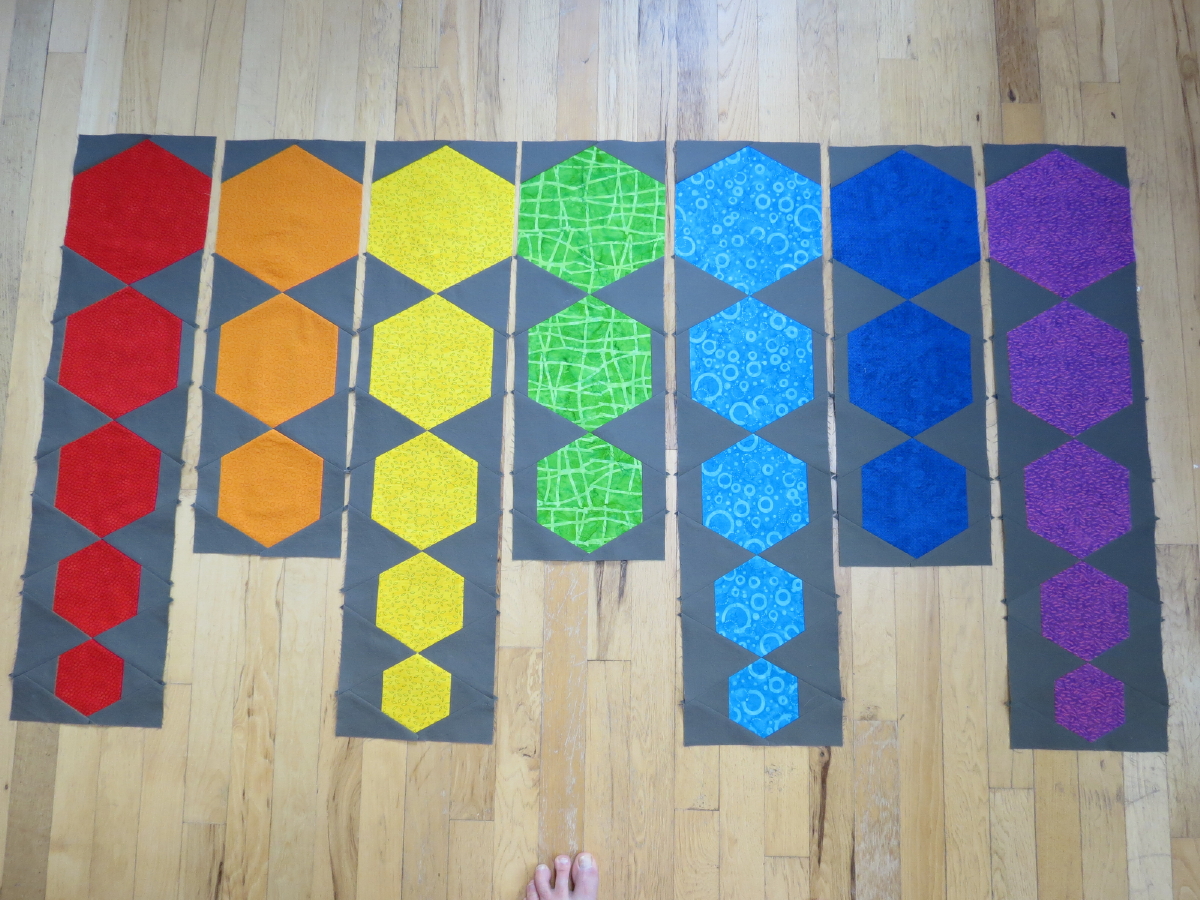
When I finished the hexagon strips, I had to think about how I was going to put them together. The pattern uses 7 hexagon strips for a twin-sized quilt and has a queen-sized version that uses 11 of the strips. But I wanted to make a queen-sized quilt with just 7 hexagon strips so I could represent the rainbow. I could do something with the strips lining up going in the same direction:
Or, like the pattern, I could have the long strips going down and the short strips going up:
I liked this second version better, so now I had to add background to each strip to make them the same length and decide how far apart I would put the strips. I measured my queen-sized mattress and found it is 60" across. The hexagon strips are 7.5" wide finished, so adding 1.25" finished backing strips would make the hexagon strips fit exactly on the top of the mattress. So I went with that.
Because the piecing of the triangle on the hexagon strips wasn't perfect, the strips were a little narrow in some places. to try to clean some of that up, I marked a line on the hexagon strip where I should line up the background strip to make up for those gaps:
(Of course, I started by marking the wrong side of the red hexagon strip, but, luckily, I realized that before I did any stitching and then marked the correct side.) I lined the background strip up with this line and pinned in place:
Then I sewed the seam, using the shorter seam allowance on the hexagon strip:
This worked really well for these strips, but I had to just fudge the rest of the seams since I couldn't come up with a way to mark the seams after this point. But I think it turned out pretty well! Here's the inside portion finished:
Then I just had to decide how wide I would want the top and bottom borders and and add them to the quilt. I don't have a good way to photograph the whole queen-sized top, so here are a couple of pictures to give you an idea of how it turned out:
I really love how it turned out! Now I have to think about how I want to piece the backing. I'll probably play around with different rainbows and will probably have to order some more of the background fabric to use on the back. I've got plenty of time to work on that!
One last thing I've just started thinking about is wedding quilts. I have a niece and a nephew who are both in serious relationships and, although there aren't any formal engagements yet, we have a feeling that it won't be long for either. One couple has already bought the engagement ring although the engagement isn't formal yet. So, I'm starting to think about wedding quilts so I don't get too stressed out when the announcements are made. I've decided on a pattern for the first quilt: I want to make the Wedding Bands quilt from Judy Martin's
Stellar Quilts book. (If you scroll down a little bit, you'll see a picture of the twin-sized version of her Wedding Bands quilt.) I've wanted to make this quilt for myself for a long time, so this is the perfect opportunity to try the pattern. I've decided to use teals for the background and ordered the fabric already:
I'm not really pleased with the lightest fabric so will continue to look for a replacement for that one, but I love the rest of them. I also need to decide on the colors to use for the contrasting fabrics in the stars. Maybe golds? Or browns? I'll keep thinking about that....
I hope everyone is having a wonderful spring! We've been enjoying some nice spring weather up here in the mountains but, as usual in the spring, we are expecting some more snow next week. I hope this is our last snow since I've scheduled an appointment to swap out my snow tires the following week!
Nancy