Hi all -
Last weekend, my sewing friends and I took a little detour and decided to have a paint day instead of a sew day. We had originally planned this for July, but had to postpone it until August because of schedule conflicts. That ended up being perfect timing for me because I just signed up for Mickey Lawler's new
Creative Fabric Painting for Landscapes class with iQuilt.com and I wanted to try some of her techniques. (BTW, it's a fabulous class!) I had just enough time to order supplies and get things ready.
One of my friends wanted to show us a new technique that she had tried, so we started with that. She had painted pieces of muslin with acrylic paints ahead of time to give us some backgrounds to choose from and brought some magazines to give us some pictures to play with. Then, using some paste that she brought, we applied pictures to the backgrounds in a technique that was just like decoupage. I chose a red and yellow background and applied a bird picture:
It was fun to do, but probably not a technique I will use often because it makes the fabric stiff, but you never know. And I might change my mind after I finish this piece, which won't be until after Christmas since I have a lot of presents to make.
After that, I got out my supplies for making washes. We used transparent Setacolor paints and just played. Here are a couple of my pieces:
Once the first washes dried, we decided to play with surface design. We used stencils, stamps and rubbing plates. Here's the one that I made:
It's a bit chaotic, but I like it.
Since I had a bunch of fat quarters of PFD fabric left over, I took a couple of days at home to play with the washes some more. I set everything up on the deck and set to work:
With the Setacolor paints, you get the brightest colors if the paints dry in bright sunlight:
And, of course, Lance helped:
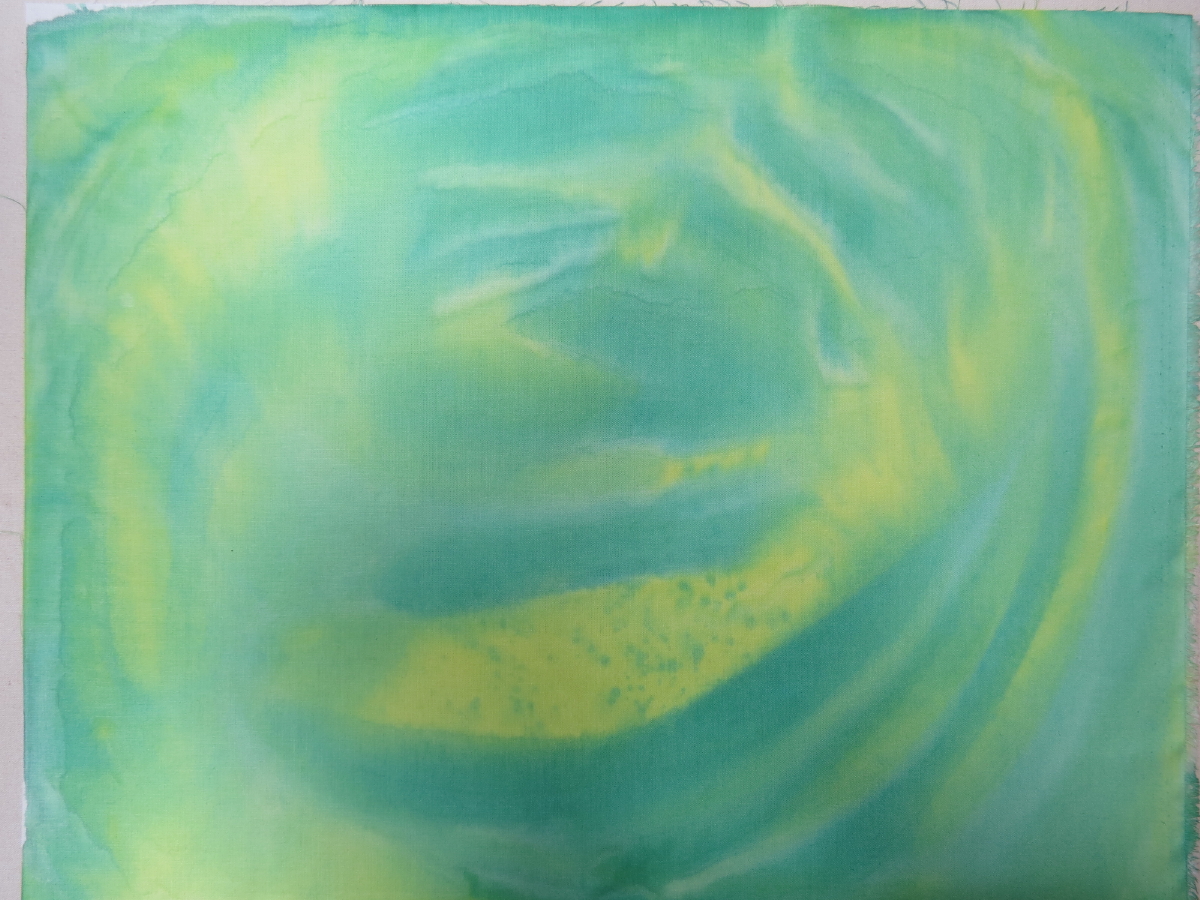
I made some plain washes:
I played with some sun printing:
I played with some salt:
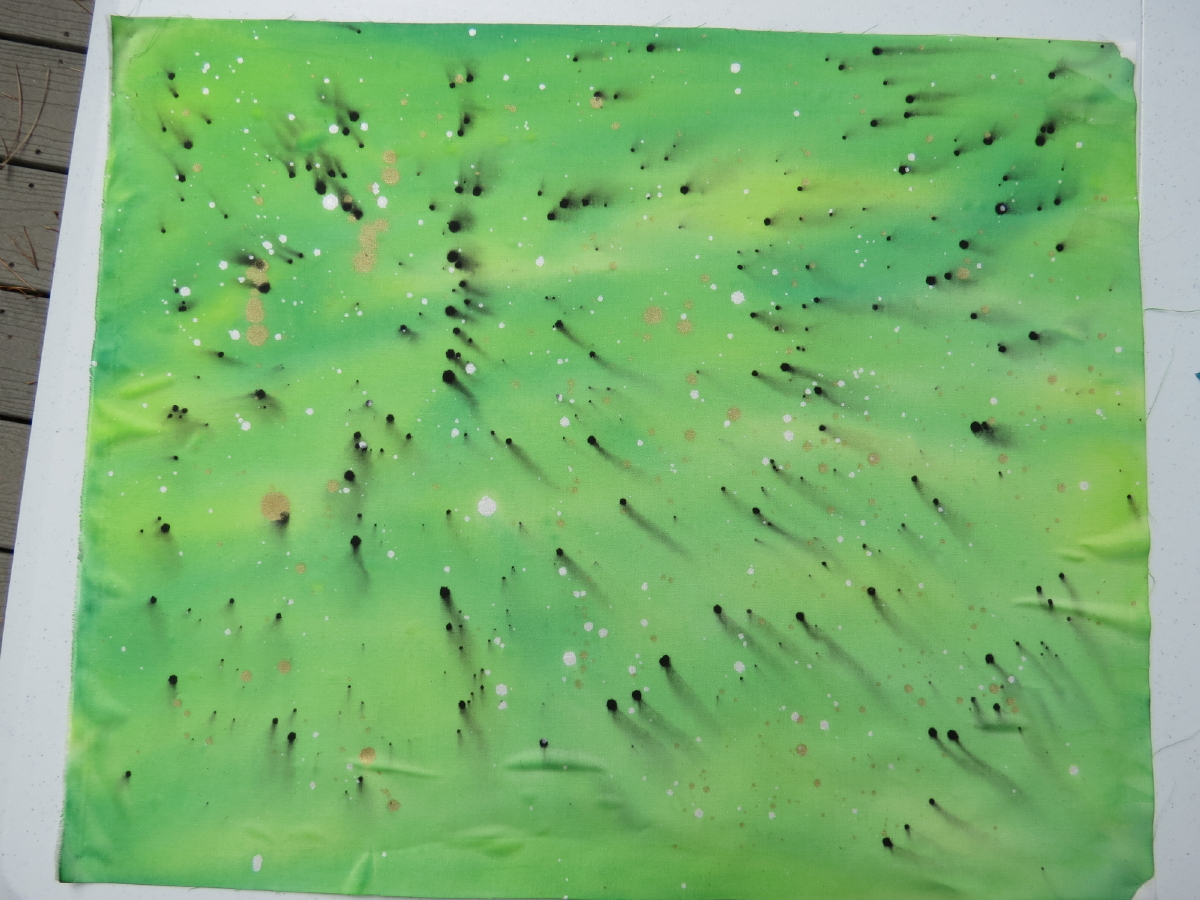
I splattered some paints:
And I did some scrunching of the painted fabrics. The first one I did last week and then washed some yellow paint over it this week. The second one I just finished, but will wash some light red paint over it the next time I get everything out:
These paints are washable and colorfast after they dry. I went ahead and also heat set the colors, although that isn't necessary. But I figure better safe than sorry. To test the washability, I cut one of the fat quarters in half and washed and dried it normally. Here's how it compares to the original:
There was some loss of color, but that might have been because I forgot about it in the dryer so it was in there for a long time. Since the paint sits on the surface of the fabric, rubbing can cause the colors to come off. So, hitting the dryer walls wouldn't be good for the paints. I think that's why the greatest color difference is seen in the yellow splatters on the top. At some point, I need to do another test where I wash the fabric and then just hang it to dry. I mainly wanted to get an idea of whether these fabrics can be used in bed quilts, and I think they can if I'm a little careful with the quilt.
That's all I have for now.
Nancy