Monday, January 27, 2025

Tippi, Pickles, Lucky, Ginger and Edgar

 Hi all -

I hope everyone is doing well! We made it through the cold snap and are enjoying a couple of sunny days with highs in the 30s. It feels so balmy and wonderful!

I've continued to work on my Dog Park quilt designed by Elizabeth Hartman. I was able to complete 5 more dog blocks this week:

Dog Park - Tippi Block

Dog Park - Pickles Block

Dog Park - Lucky Block

Dog Park - Ginger Block

Dog Park - Edgar Block

Each block is a lot of work, but I'm getting into the swing of things. I should have all of the dog blocks finished in the next week or two. I did make a mistake in the Pickles block. I mixed up the two outer ear units so the ear is more pointy that it should be. I don't think this will be noticeable to anyone but me so I'm waiting until later to decide whether I'll fix it. The units both touch the outside edge of the block, so It won't be that difficult to fix it if I decide to do that.

For a rest from the dog blocks, I also made several Mini Coin Purses from Bernina's WeAllSew blog. 

Mini Coin Purses

I'm on Bernina's email list and they send out "weekly inspiration" emails with short blurbs for projects in their blog. I saw this in one of their emails and thought it would be a good stocking stuffer for my sisters. I made the pink one first to figure out the pattern. I liked it, but I put the hook too far down on the side. I'll keep that one to hold knitting notions in my project bag. The other two are nicer and will be stocking stuffers next Christmas.

It's too dark in my sewing area to do much after the sun goes down, so in the evenings I generally do handwork. One of the projects I've been working on is the embroidery for my Posy Pocket Handbag designed by Crabapple Hill. 

Posy Pocket Handbag - Embroidery

I concentrated on the basket and ribbon first so that the flowers will subtly sit on top of the basket and to make it easier to avoid smashing the french knots with the embroidery hoop. I should be able to finish this in another couple of evenings. 

Finally, I've also made progress on my Boublay scarf designed by Laura Nelkin. 

Boublay

This kit came with a set of two small balls of yarn (designed for making socks) and the pattern is written so you can use one or both balls of yarn in your project. I was thinking I would stop with the first skein, but now I'm thinking that I would like it bigger so I'll probably continue on with the second ball of yarn. I'll decide when I pick up this project again, probably later this week.

Nancy


Monday, January 20, 2025

Bernadette and Cookie

 Hi all -

Wow! Winter sure has set in! I hope everyone is keeping warm! We're in the middle of a cold snap, but we're doing fine. We've had a couple of moose visiting the yard the last couple of days, which I just love! We had two this morning that hung around for a while eating from the pine trees, then they lay down and just hung out for a couple of hours before eating some more. It's so fun watching them! Here's the one I saw first:

Moose in the Yard

He was huge! His friend was a lot smaller. But both were fun to watch!

I was able to start working on my Dog Park quilt (designed by Elizabeth Hartman) this week. I got the first two dogs made:

Dog Park - Bernadette Block

Dog Park - Cookie Block

I'm pretty pleased with these blocks! I used the same colors for the dogs that the designer used, and I'm glad I did that. The colors of the fabrics are very close to each other. When I got the fabrics, I was really worried that the colors in the blocks would be indistinguishable. Even though the differences are small, they really do show up in the blocks. I'm afraid if I had chosen my own colors then there would have been too much contrast between the different parts of the dogs and they would have looked a bit cartoonish. There's a lot of cutting and piecing of small pieces in these blocks, but I'm enjoying it so far.

This week we also had our monthly guild meeting and our previous president handed out kits for making blocks for the quilt that will be made for our current president. That's the tradition in this guild. The kits consisted of instructions and one piece of fabric to be used for the arms/wings in the block. The rest of the fabric would come from our statshes to get a truly scrappy quilt. Here is the block I made:

President's Quilt Block

We were given some guidance as to the colors to use so the quilt should look good in our president's bedroom.

I've also done some knitting this week. I finished my Cuentas Scarf designed by Laura Nelkin:

Cuentas Scarf

And I started a Boublay scarf, also designed by Laura Nelkin:

Boublay

These are both kits that I've received from Laura's "Lola's Choice" club. With this club, we get a new small project every other month. I'm very behind in making these projects so I'm trying to get several finished during her knit-along going on the first quarter of this year.

Nancy


Wednesday, January 15, 2025

Winter 2025 Quilting Retreat

 Hi all -

I hope everyone is doing well! I just had a great time over the weekend at our guild's winter retreat. It was so much fun! This retreat was at a retreat center in Allenspark, CO, with beautiful mountain views. The retreat ran from Friday afternoon through Monday afternoon, although I ended up leaving in the middle of the morning on Monday. We had a large room where tables were set up for us. They had two people at each buffet table, with the tables pushed together in pairs making stations for four people. Then other tables were positioned around the room to use for cutting stations and for arranging blocks, and irons were positioned around the room. When I first got there, I was very concerned about the tight space at the work tables, but it ended up working really well with the other tables available around the room. And I had a great time with my tablemates, who I had not met before the retreat. I brought my camera intending to take some pictures of the set-up, but only thought to take pictures one early morning when I was there before everyone else. I took this picture showing a few of the cutting tables and our view from the room:

Retreat Work Areas

You can see in the picture that the lighting in the room is very yellow, but the center is in the process of replacing all of the lights with LEDs, so the lighting will be much better the next time we go there. I also took a picture of Mount Meeker this morning because it had a beautiful alpenglow:

Mount Meeker

I was able to sign up for a single room at this retreat. That was really nice for me since I tend to be an early riser, but also often end up working later in the evening. I also don't tend to sleep well and get up frequently in the night to use the restroom. I ended up being the last person working on Friday evening, by several hours, and I was the first or second person to start working every morning so I was very glad to not have to worry about disturbing others! I will definitely try to get a single room for the next retreat!

The first project I worked on at the retreat was my Prickly Pear quilt designed by Cozy Quilt Designs.

Prickly Pear

I had pieced the center this summer, but then put it aside to work on the quilts I made for Christmas. All I had left to do at the retreat was to add the borders. I was able to get all three borders added on Friday, but had to work until 11:30 to do that. 

My second project at the retreat was a Potato Chip quilt. The "potato chip" block is a fairly recent craze. It is a block that can be made any size and is constructed so that there are no seams to match in the block. Like the log cabin block, you can play with the coloring of the pieces and the orientation of the blocks to create a lot of different designs with this block. There's a free PDF booklet that gives a bunch of sample layouts for the block. I couldn't find the URL for the booklet, but if you follow the link I gave above for the potato chip quilts, you can click on a link to instantly download the booklet if you want to take a look. I'd seen this block talked about in several places and had been thinking about doing something with it, and then some people on a quilting forum that I participate in had a potato chip quilt challenge. I wanted to join the challenge, but they did it right before Christmas and I didn't have time to participate, but I did think about what I would want to do. I had a couple of half yard fabric collections that I had picked up some time ago. They were both from the same fabric line, but one was in reds and the other was in greens and blues. I really loved the colors and decided that I would make a potato chip quilt out of these fabrics. For this block, every unit making up the block is the same size and just has to finish as a rectangle that is twice as long as it is wide. So, for example, you could use units that finish at 2"x4", which would mean you would cut the units 2.5"x4.5". I wanted a lot of movement in my blocks, so I decided to make smaller units that finish at 1.5"x3". My first step was to cut units from all of my fabrics. I put the green units in one paper bags and the red units in another bag so I could pick my fabrics fairly randomly when I was sewing. The cutting took a lot of time, but I got a good selection of fabrics into each bag and was then able to get a lot of sewing done. Here are the blocks that I was able to finish at the retreat:

Potato Chip Blocks

The finished blocks are all laid out in the pattern that I'm going to use to sew them together for the quilt and the partial blocks are just laid out along the bottom of the quilt.  I really love how this is coming together! I didn't expect the pattern to show up very well in the quilt because there isn't any value difference between the red fabrics and the green fabrics, but it shows up really well in the picture. And I can enhance that when I do the quilting. I left the retreat a little early without finishing the blocks along the bottom because I had pretty much depleted my green units and was going to need to cut some more to get a good variety before I could sew any more and I didn't feel like switching to more cutting at the retreat center. And I was pretty tired of sitting in that chair!

Finally, I took a small amount of time to do some work on my embroidery for my second Posy Pocket Handbag designed by Crabapple Hill.

Posy Pocket Handbag - Embroidery

It's a small start, but it's a start! I didn't work on this project much, but I was glad that I brought it.

Before I left for the retreat, I was also able to get some knitting done. I was able to finish the knitting on my Stitchscape Shawl designed by Malia Mae Joseph:

Stitchscape Shawl

Stitchscape Shawl - Close-up

It felt really good to get this finished! Those last rows took forever! The ends are all woven in and now I just need to block it so I can trim the ends. Then I can wear it!

I also made some progress on my Cuentas Scarf designed by Laura Nelkin:

Cuentas Scarf

I completed one repeat of the pattern, now I'll continue to do this until the yarn runs out. This will be a fun scarf!

Finally, I also did some sewing before the retreat. I was able to make two more blocks for my circles quilt:

Circle Blocks

I now have 11 of the 30 blocks finished. I'll continue to plug away at these as I have time.

That's it for now. Even though I have all of these projects to work on, I'll be shifting my focus now. I found a pattern for a quilt that is perfect for my sister and ordered all of the fabric. The fabric came while I was at my retreat, so I washed everything yesterday and am ready to start the piecing. I think this will be a fun one to work on!

Nancy


Monday, January 6, 2025

Holidays Are Over

 Hi all -

The holidays are over and winter is starting to set in. I hope everyone had a great holiday season! I had a wonderful time visiting family, including the new great niece. She's beautiful and such a content baby! It was warm and rainy in Kansas City while I was there and we had perfect weather for the drive home. I'm sure glad we missed the current storm! Now we're back home and getting back into the normal swing of things.

Even with the holiday, I've been fairly productive. Before I left, I finished my first Posy Pocket Handbag.

Posy Pocket Handbag

I did a bit of stumbling while making this bag. I mentioned last time that this was a kit that I purchased from our quilting guild's online auction. The kit was donated by the estate of a crafter and it included the fabric, except for the stitchery background, and the pattern. There were supplies for two bags, so both of the bags pictured on the pattern can be made (they are the same bag, with just a different stitchery on the front pocket). My first confusion was with the fabric choices. I could easily see which fabrics went together for each bag, but there were three fabrics in the kit for each bag and the pattern calls for two fabrics. For each bag, there was more of two of the fabrics than there was of the third. In the bag above, there were large pieces of the light and dark melon and a smaller piece of the dark green. The bag would be boring without the dark green, but there wasn't enough of the dark green to just use it as the contrast color so I had to figure out which fabrics I wanted to use for each pattern piece. 

Posy Pocket Handbag - Side View

I also didn't like some parts of the pattern construction. For example, the pattern has you sew the front pocket on by hand after finishing the bag. That seemed tedious to me and less stable than sewing the pocket on by machine, so I sewed the pocket on the front by machine during the assembly process. The biggest change I made was the closure. The pattern has a string closure that you tie in a bow. That didn't appeal to me so I changed it to a snap closure. I had to do some finagling to get this to work since the inside pockets were too high up and interfered with the snap.

Posy Pocket Handbag - Inside

I like how this bag turned out, but there are still some other changes I plan to make in my next one. First, I'll plan for the snap ahead of time and move the pocket down further. I'll also sew a line of stitching down the center of the big side pockets to make them more useful (they tend to flop to the middle of the bag as is) and sew another line of stitching at the bottom of the pocket, where the side of the bag folds under to the bottom. (The inside pockets currently open all the way down to the center seam in the bottom of the bag.) This will make the pockets flop less and will keep the contents from sliding down into the bottom of the bag. If there's enough of the contrast fabric, I'll also put a strip of contrast fabric at the top of the bag inside so the contrast strip along the top of the bag will match the other contrast strips on the outside of the bag. I might also change the contrast fabric used for the inside of the handle, but I still have to think about that one.

I've also made some progress on my circles quilt. I got five more circle blocks completed:

Circles Quilt

With the four blocks I made in class, I now have nine blocks completed for the quilt. These blocks are 14" unfinished, so I think I'll make a total of 30 blocks to make a good size lap quilt. I'm excited about this quilt because I already know how I want to quilt it. Using thread that matches the solid color, I plan to first stitch in the ditch between the blocks and around the circles. Then I'll stitch straight lines from corner to corner in each block and echo those lines in the triangles that are created, skipping over the solid circles. Finally, I'll use bright perl cotton to do big stitching in the centers of the solid circles. In my head, this looks pretty cool! (There's no telling how it will look in real life.... 😉)

I've also been doing some knitting. I took my Mimizan Hat project, designed by Tess Young, with me to Kansas City and did a little bit of knitting on it there, but just got a few repeats of the body finished there.  But I was able to finish the hat after I got home:

Mimizan Hat

I really love how this turned out and am definitely keeping it for myself! Although the knitting was fairly easy, I'd probably rate this pattern as intermediate because you have to do some more complex maneuvering of the yarn on some of the rounds. And there is one decrease round at the top of the hat that took me a while to figure out. But the final effect is stunning, IMHO.

I've also continued to make progress on my Stitchscape Shawl designed by Malia Mae Joseph:

Stitchscape Shawl

The shawl continues to grow and it's up to about 675 stitches per row, so each row is now taking about an hour to knit. So it was a real bummer when I knit a fairly complicated row the day before I drove to KC and when I got to the end of the row I realized that I was off by one stitch. Looking at the stitches, I had made a mistake at the beginning of the row and I would have to take out all of that stitching. I put the shawl aside until I got back from KC! When I got back, I spent a couple of hours removing those stitches and another hour reknitting the row and now, I'm happy to say, I'm back on track and making progress again!

Stitchscape Shawl - Close-up

I just have one more row to knit to finish this section, then one more section of the yellow and I'll be finished with this shawl.

I also started a new knitting project. Laura Nelkin is having her annual first quarter knit-along (KAL) for finishing up her projects and I have a bunch of her projects lying around! Because of the clubs I'm in, I get six new small project kits and three large project kits each year. I love the projects, but have trouble finding the time to make them! So I decided to start this KAL with the Cuentas Scarf:

Cuentas Scarf

This is a cute little scarf with beads (I'm just to the first beaded row) that will be perfect for cool days. It's been a lot of fun to knit so far!

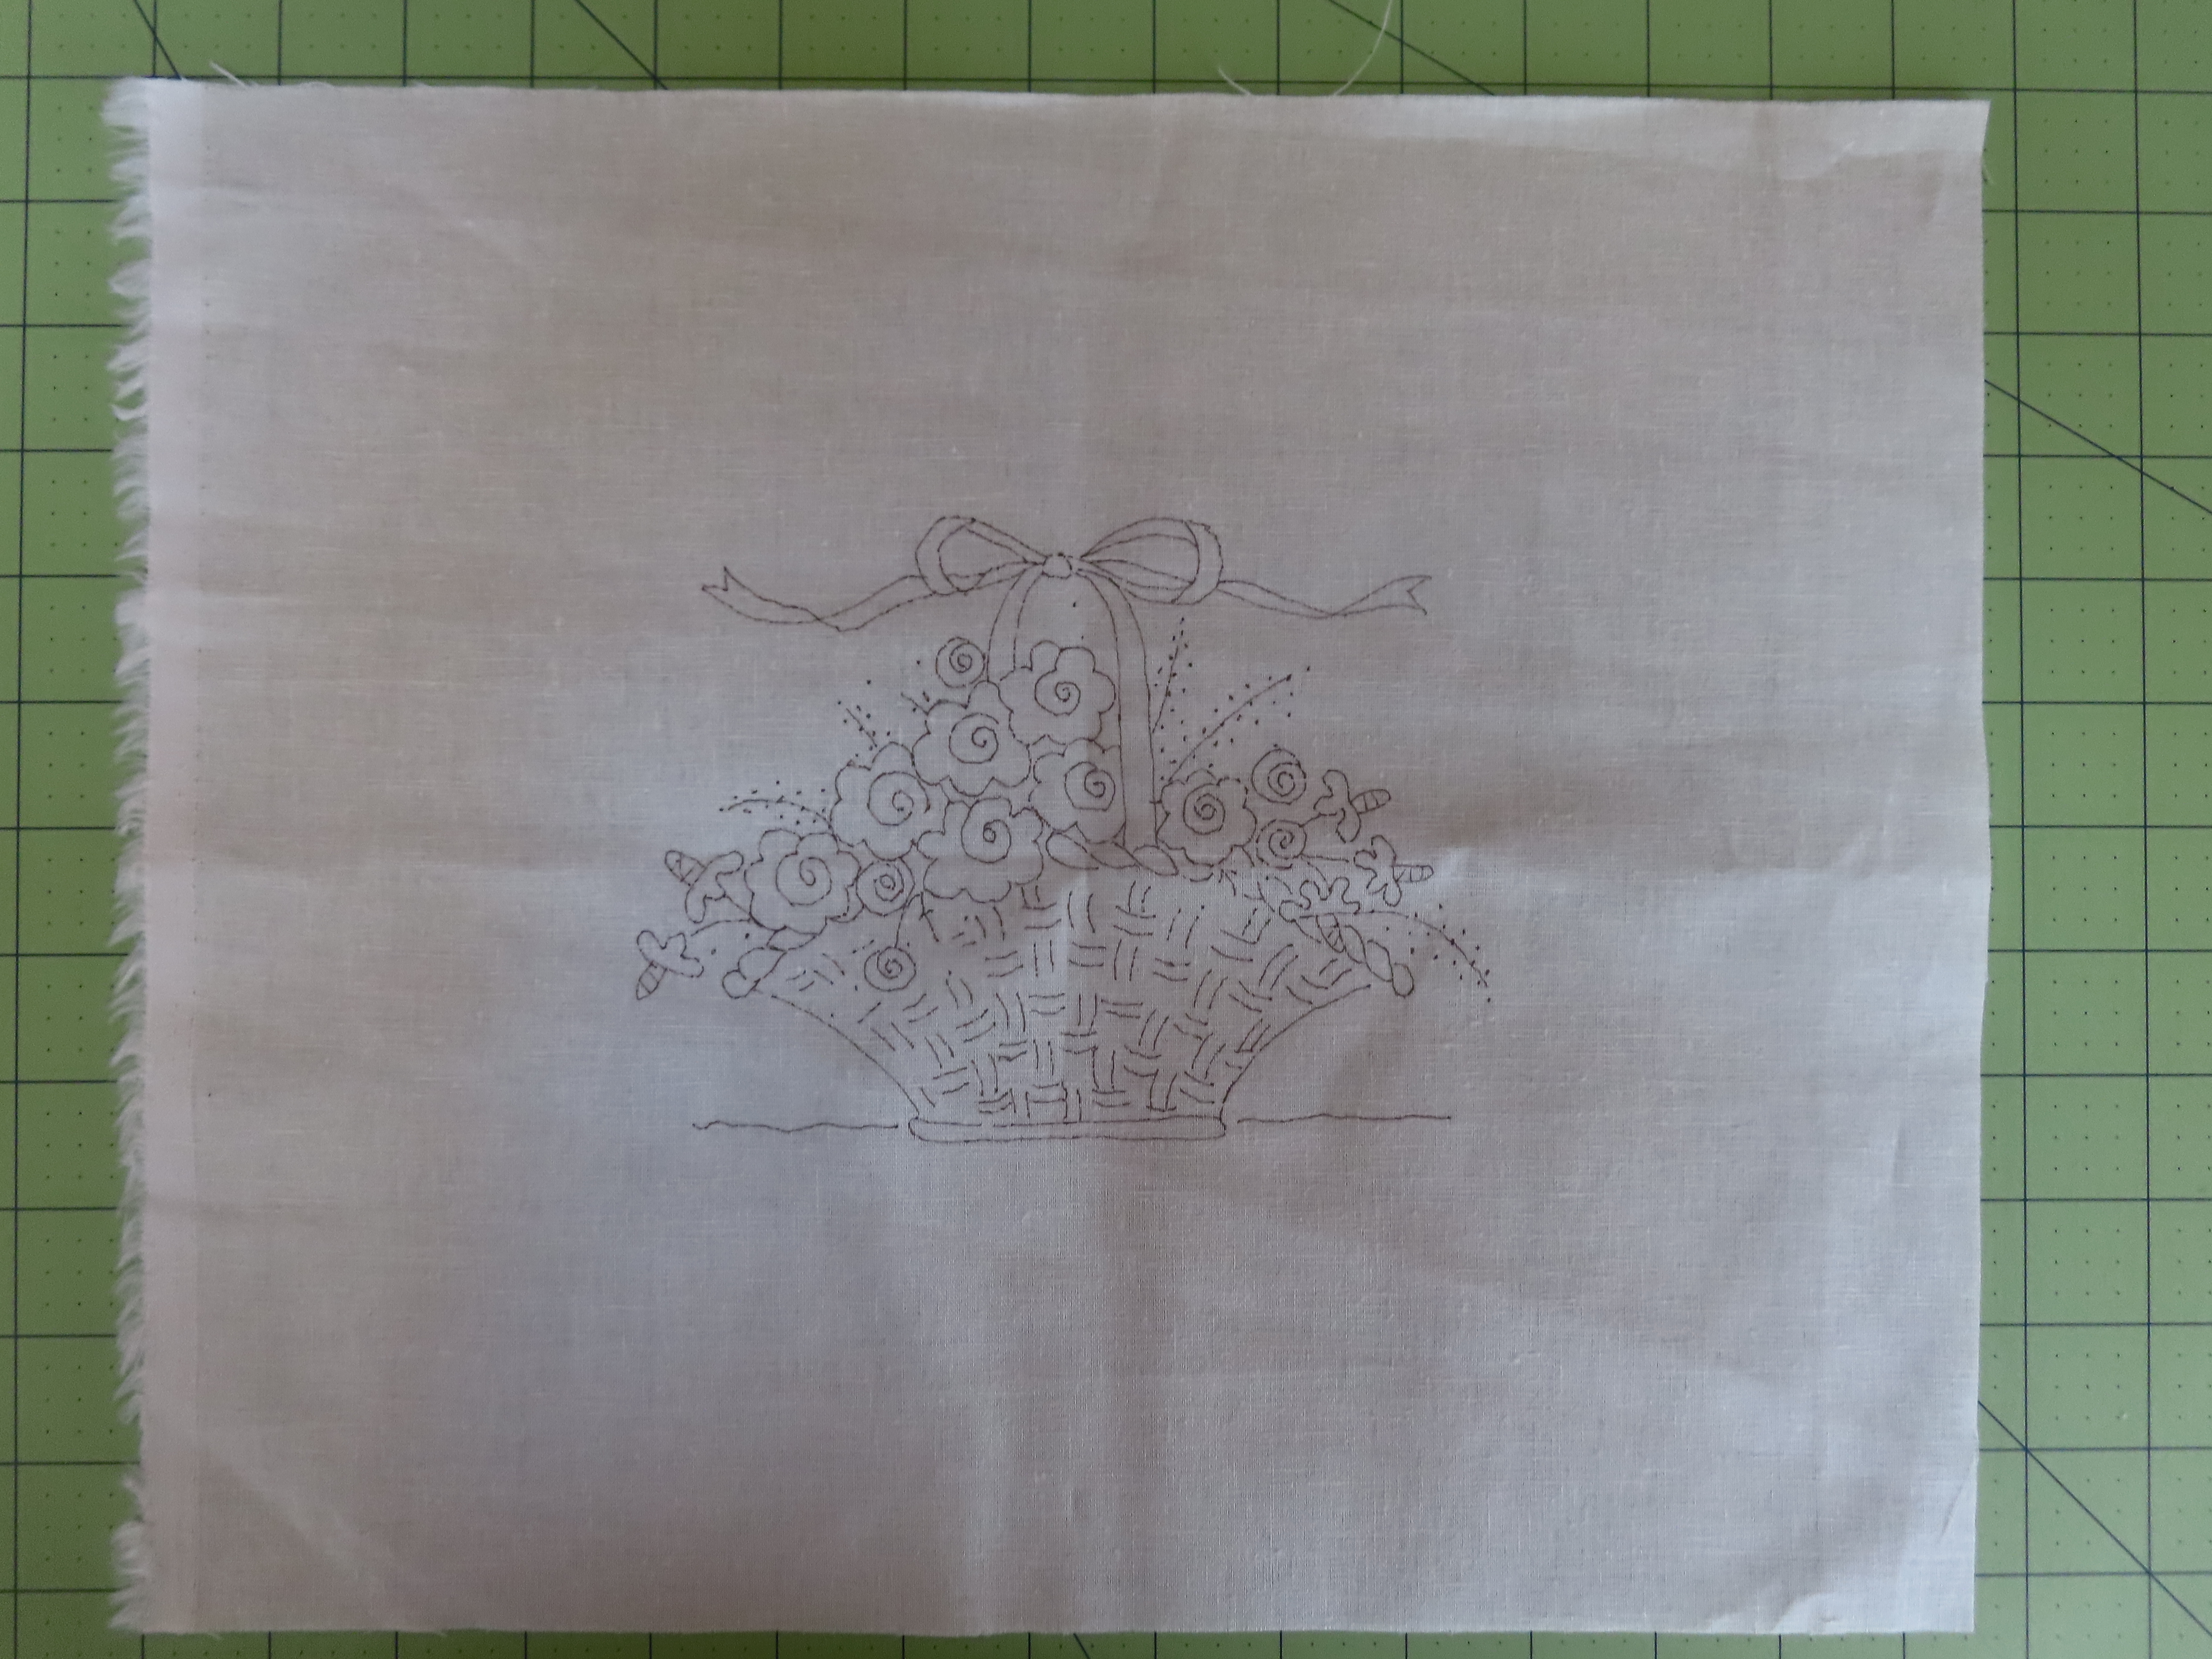
Finally, I'm getting ready for a quilting retreat next weekend. One of my guilds has a mountain retreat that runs from Friday afternoon to Monday afternoon. These retreats are always a lot of fun! We sew together in a large room with a large window looking out at Mt. Meeker, which is a beautiful mountain peak that is just under 14,000 ft. The retreat center supplies the food so we can concentrate on sewing and community. I've gathered more projects than I can possible finish in a weekend (because it would be a bummer to run out of things to do!). I'll be bringing mostly machine sewing projects, but I also prepared the embroidery background for my second Posy Pocket Handbag:

Posy Pocket Handbag - Embroidery Background

This will give me something that I can work on while sitting on the couch when my back gets sore from the chairs at the retreat. I'll also bring my English Paper Pieced hexagon quilt so I have choices in my handwork, too. I hope to have a very productive weekend!

Nancy